As the gardening season winds down, we need to think about putting our tools away properly. Winter weather can be tough on equipment, so we’ve put together some thoughts on how to keep everything in good shape. Storing your garden tool storage sheds correctly now means less work and fewer replacements later. Let’s get our gear ready for the cold months.
Key Takeaways
- When picking out garden tool storage sheds, think about how much stuff you have and what the shed will be made of. This helps you pick the best option.
- Before winter hits, clean all your garden tools. Get rid of dirt and moisture. Also, check the shed itself and make sure it’s protected from rain and snow.
- Properly storing your garden tool storage sheds and the tools inside protects them from damage. This saves you money and hassle down the road.
Choosing The Right Garden Tool Storage Sheds
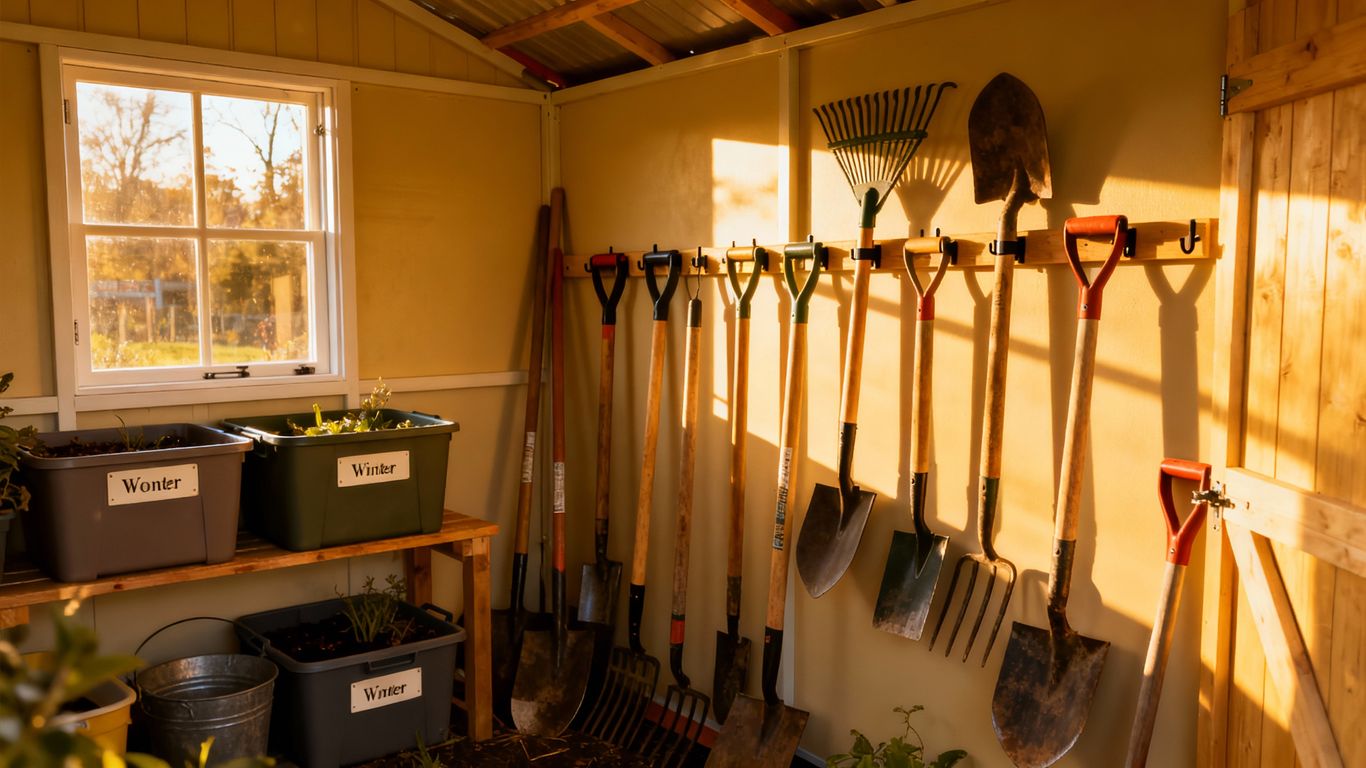
When winter starts to creep in, we all begin thinking about putting our garden tools away. But where do they go? Just tossing them in a corner of the garage or leaving them out in the elements isn’t ideal. We need a proper place for them, and that’s where garden tool storage sheds come in. Selecting the right shed is more than just picking a box; it’s about finding a solution that keeps our tools safe and sound.
Assessing Your Storage Needs
Before we even look at sheds, we need to take stock of what we actually need to store. Think about all the tools you have. We’ve got the basics like shovels, rakes, and hoes, sure. But what about the bigger stuff? A lawnmower, a wheelbarrow, maybe even a rototiller? And don’t forget the smaller items: hand trowels, pruners, gloves, bags of soil, and fertilizer. It all adds up.
Here’s a quick way to think about it:
- Quantity: How many tools do we have? Are they mostly small hand tools or large, bulky items?
- Size: Measure your largest tools. A wheelbarrow might fit easily in one shed but be a tight squeeze in another.
- Future Purchases: Are we planning on getting any new, larger tools next spring? It’s good to have a little extra room.
- Organization: Do we want shelves, hooks, or just open space? Thinking about how we want to organize things inside will help determine the best layout.
We found that just estimating isn’t enough. Actually measuring our biggest items, like the mower and the wheelbarrow, made a big difference in picking a shed that wasn’t too small. It’s better to have a bit too much space than not enough.
Material Considerations For Your Shed
The material of the shed itself is a big deal. It affects durability, maintenance, and how well it protects our tools. We don’t want something that falls apart after a couple of seasons.
Here are some common options we’ll see:
- Plastic (Polyethylene/Resin): These are often lightweight, easy to assemble, and don’t rot or rust. They’re pretty low maintenance. However, they can sometimes be less sturdy than other options and might fade in direct sun over time. They’re great for keeping things dry and are generally quite affordable.
- Metal (Steel/Aluminum): Metal sheds are usually strong and can withstand harsh weather. They’re often fire-resistant too. The downside is they can rust if the coating is damaged, and they can get quite hot inside on sunny days, which might not be ideal for certain stored items. We need to make sure any metal shed we consider has a good protective coating.
- Wood: Wood sheds look nice and can be very sturdy. They offer good insulation. The catch is they require more upkeep. We’ll need to seal or paint them regularly to prevent rot, warping, and insect damage. If we’re handy and don’t mind a bit of maintenance, a wood shed can be a solid choice.
When we’re looking, we should also think about the foundation. A good shed needs a level base, whether that’s concrete, gravel, or even a sturdy wooden platform. This helps keep the shed stable and prevents moisture from seeping in from the ground.
Preparing Your Garden Tool Storage Sheds For Winter
As the gardening season winds down, it’s time to think about getting our tools and their storage spaces ready for the cold months ahead. We don’t want to just shove everything in and forget about it until spring. A little bit of work now can save us a lot of headaches and potentially costly repairs later on. Let’s get our sheds in order.
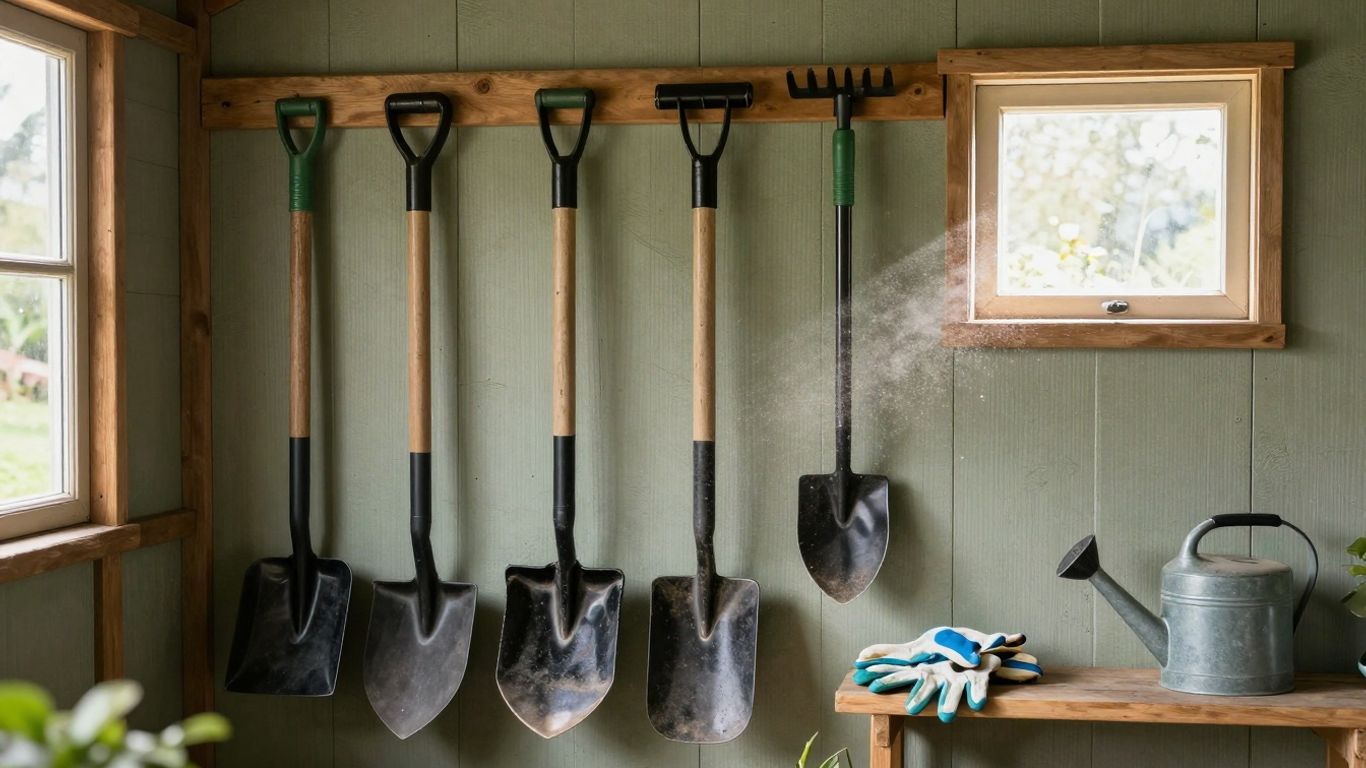
Cleaning And Organizing Tools Before Storage
This is probably the most important step. Dirty, damp tools are a recipe for rust and rot. We need to give everything a good clean. Start by brushing off any caked-on dirt from shovels, hoes, and trowels. For metal parts, a wire brush works wonders. After brushing, we can wipe them down with a damp cloth, and then dry them thoroughly. For wooden handles, a light sanding can smooth out splinters, and a coat of linseed oil will protect the wood.
- Rinse off any soil or debris.
- Dry tools completely with a clean rag.
- Sharpen blades on pruners, shears, and mower blades. A sharp tool is a safer tool, and it will perform better when spring rolls around.
- Lubricate metal parts. A light coating of oil, like WD-40 or even vegetable oil for less critical parts, can prevent rust. For chainsaws, make sure to drain the fuel or use a fuel stabilizer.
We often overlook the small stuff, but things like garden hoses can become brittle and crack if left out or stored improperly. Drain them completely, coil them loosely, and store them somewhere out of the way, perhaps on a hook or in a bin.
Protecting Your Shed From The Elements
Our sheds are also vulnerable to winter weather. We need to make sure they’re sealed up tight and ready to withstand snow, ice, and wind.
- Inspect the shed for any damage. Look for loose shingles, cracked panes in windows, or gaps in the siding. Repair these issues before the harsh weather hits.
- Check the roof and gutters. Clear out any leaves or debris that could cause water to back up and freeze, potentially damaging the structure.
- Seal any gaps or cracks. Use caulk or weatherstripping around doors and windows to prevent drafts and moisture from getting inside. This also helps keep pests out.
- Consider a moisture absorber. If your shed tends to get damp, placing a moisture-absorbing product inside can help prevent mold and mildew growth on your tools and the shed itself.
Making sure our shed is secure and dry is just as vital as preparing the tools themselves. A little preventative maintenance now means we can open the shed doors in spring to find everything in good condition, ready for another season of gardening.
Wrapping Up Your Winter Tool Prep
So, we’ve gone over a few ways to get our gardening tools ready for the cold months. It might seem like a lot of work now, but trust us, it’s worth it. When spring rolls around again, you’ll be glad you took the time. No more rusty trowels or cracked handles to deal with. Just clean, protected tools ready to go. We hope these tips help you keep your gear in good shape. Happy gardening, and we’ll see you next season!
Frequently Asked Questions
What’s the best way to keep our garden tools safe when it’s cold outside?
To keep our garden tools safe during winter, we should store them properly. This means finding a good spot, like a shed, and making sure it’s ready for the cold. We also need to clean our tools before putting them away so they don’t get rusty or damaged by the weather.
How do we decide what kind of shed is best for our tools?
When we’re picking a shed, we first think about how many tools we have and how much space we need. Then, we look at what the shed is made of. Some materials last longer or are better at keeping out rain and snow. We want something that will protect our tools well for a long time.
What should we do to our tool shed before winter really hits?
Before winter arrives, we should give our shed a good once-over. This involves cleaning out any old leaves or dirt and making sure all our tools are clean and put away neatly. It’s also smart to check the shed itself for any leaks or weak spots and fix them up. We might want to add something to keep moisture out, too, to make sure everything stays dry inside.
Tags: Affordable Sheds, Long Lasting Sheds, Residential Shed Builder