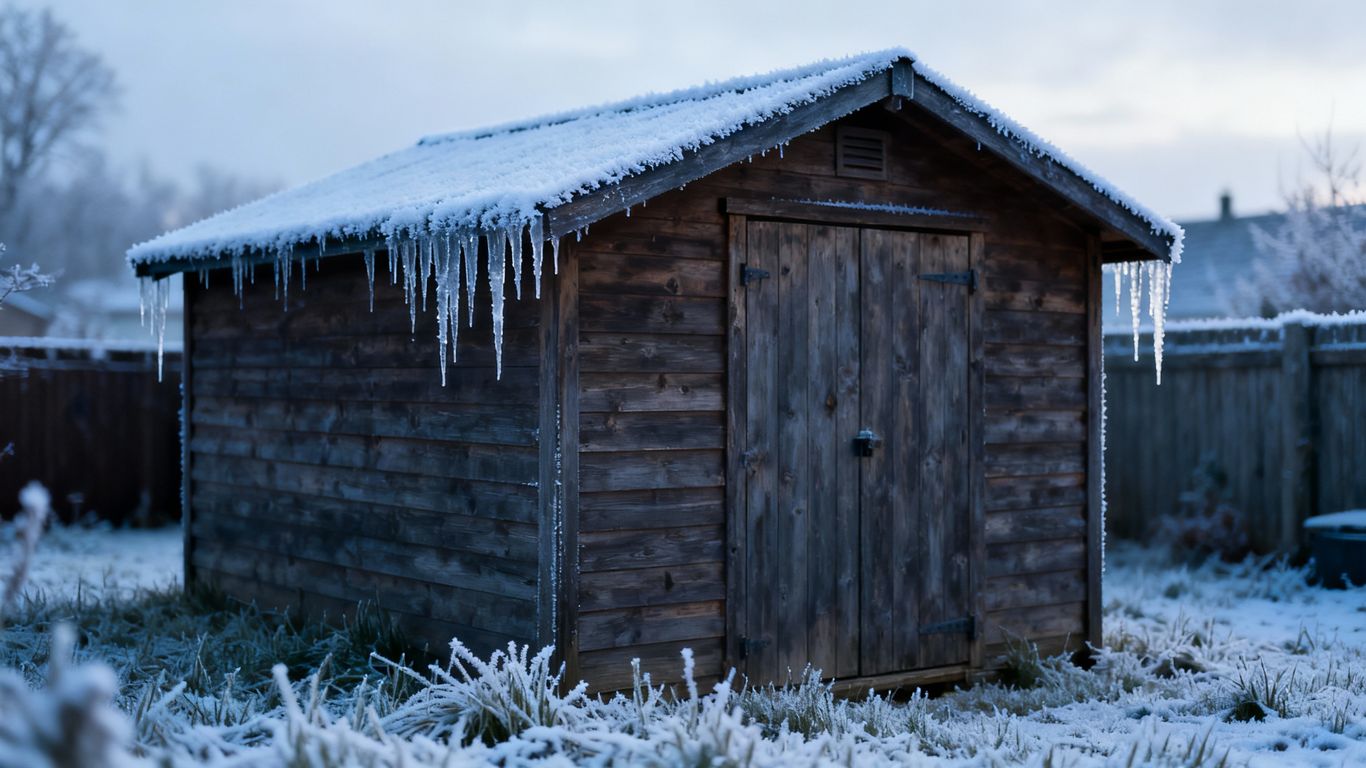
As the weather cools down here in Texas, we start thinking about how to keep our stuff safe in the storage shed. It’s easy to forget about these outdoor buildings, but they need a little attention before winter really sets in. We want to make sure our residential storage sheds are ready for whatever comes their way, from chilly winds to unexpected moisture. Proper residential storage sheds winter preparation now means less worry later.
Key Takeaways
- Check the outside of your shed for any gaps or cracks. Sealing these up will keep the cold air and any unwanted critters out.
- Deal with moisture inside the shed. Things can get damp, and that can lead to problems when it freezes. Think about ways to let air move around.
- Get your stored items organized and protected. Wrap up things that could be damaged by cold or dampness, and put them up high if possible.
Securing Your Residential Storage Sheds Against Winter Elements
As the colder months approach here in Texas, we need to think about our storage sheds. They hold a lot of our stuff, and we don’t want the winter weather messing with it. So, let’s get them ready.
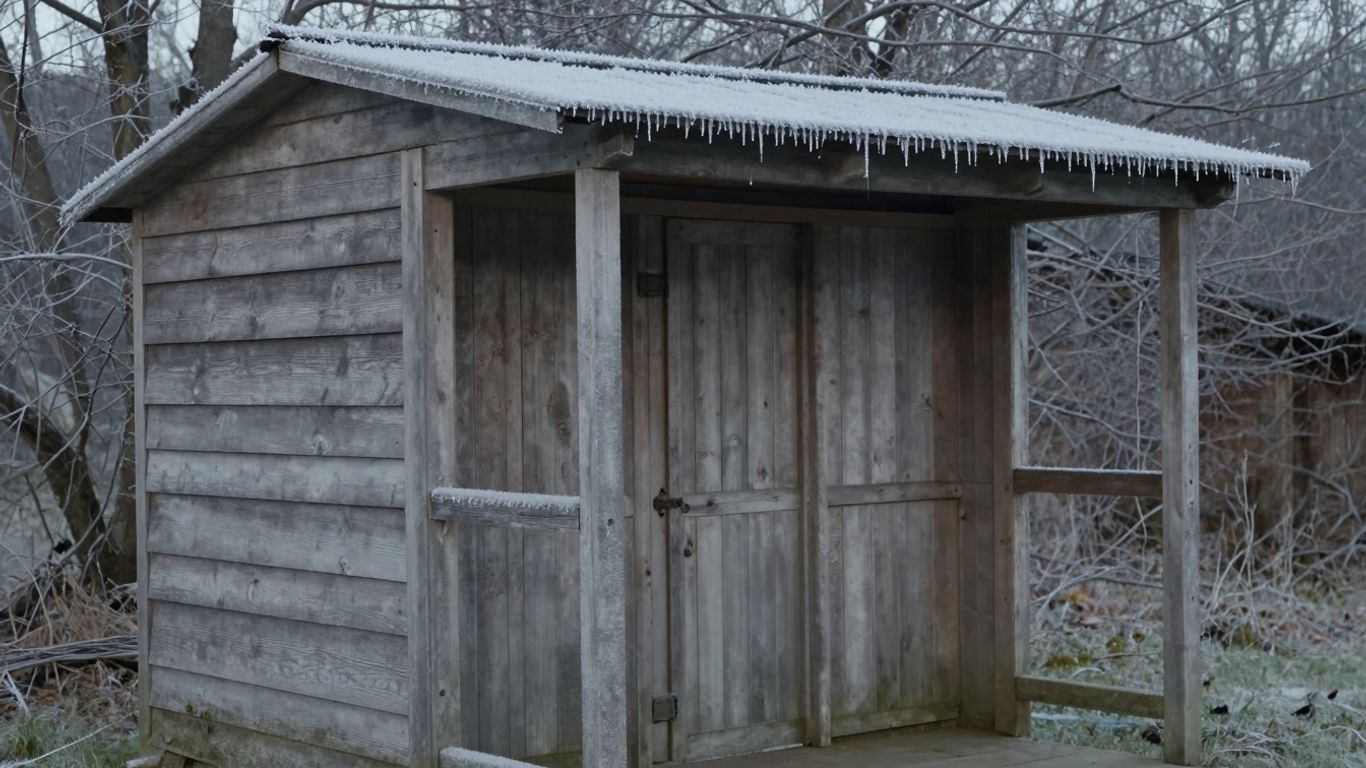
Inspect and Seal Exterior Vulnerabilities
First things first, we’ve got to check the outside of the shed. Think of it like giving your house a check-up before a storm. We want to find any weak spots where the cold, wind, or maybe even some unwanted rain could get in. A little bit of work now can save us a lot of trouble later.
- Doors and Windows: Open and close them a few times. Do they seal up tight? If you see light peeking through when they’re shut, that’s a spot for cold air to sneak in. We can use weatherstripping or caulk to fill those gaps. It’s pretty straightforward stuff, usually found at any hardware store.
- Walls and Roof: Look for any cracks or holes. Small ones might not seem like a big deal, but they can let in drafts and moisture. Use exterior caulk or wood filler for any cracks in the walls. For the roof, check for loose shingles or any damage that could lead to leaks.
- Foundation: Make sure the base of the shed is solid. If there are gaps between the shed and the ground, that’s an open invitation for wind and critters.
We’re aiming for a shed that’s as sealed up as possible. It’s not about making it airtight, but about stopping the big drafts and preventing water from getting in where it shouldn’t.
Protect Against Pests Seeking Winter Shelter
When it gets cold, all sorts of little critters look for a warm place to hang out. Our sheds can look pretty inviting to them. We don’t want mice, insects, or other unwelcome guests making a home in there, especially not with our belongings.
- Seal Entry Points: This ties right into the last section. Those cracks and holes we found? They’re also entry points for pests. Make sure everything is sealed up tight.
- Clear Debris: Don’t leave piles of leaves, wood scraps, or old boxes stacked right up against the shed. These give pests places to hide and can even provide a bridge for them to get onto the shed itself.
- Check for Existing Infestations: Before you seal everything up, do a quick sweep inside. If you see any signs of pests, deal with it before you close up shop for the winter. There are various traps and deterrents available.
Keeping pests out is just as important as keeping the weather out. A sealed shed is a happy shed, and happy sheds keep our stored items safe and sound.
Optimizing Interior Conditions for Residential Storage Sheds
Now that we’ve got the outside buttoned up, let’s talk about what’s happening inside your shed. Texas winters can be surprisingly harsh, and we don’t want our stored belongings to suffer. We need to think about temperature swings and moisture, which can really do a number on things.
Manage Moisture and Prevent Freezing
This is a big one. Condensation is our enemy here. When warm, moist air hits cold surfaces, you get water droplets. Over time, this can lead to mold, mildew, and even damage to items like furniture or electronics. We’ve found a few ways to tackle this:
- Ventilation is Key: Even in winter, some airflow is good. Consider installing small, closable vents near the roofline. This lets humid air escape. Just remember to close them when the really cold snaps hit to keep the heat in.
- Dehumidifiers: For more sensitive items or if you notice persistent dampness, a small, energy-efficient dehumidifier can make a world of difference. Just be sure to empty it regularly or set up a drainage hose if possible.
- Moisture Absorbers: These are simple, passive options like silica gel packets or commercial moisture absorbers. They’re great for smaller spaces or inside containers holding specific items.
We want to avoid standing water at all costs. If you have a concrete floor, check for any cracks where water might seep in. A good sealant can fix those up.
Keeping the interior dry is just as important as keeping the exterior sealed. Think of it as creating a controlled environment, even if it’s just a simple shed. Small steps now prevent big headaches later.
Organize and Protect Stored Items
Once the interior environment is more stable, we need to think about the items themselves. Cold can make some materials brittle, and dampness can ruin fabrics and paper.
- Elevate Your Belongings: Never store items directly on the floor, especially if it’s concrete. Use pallets, shelves, or sturdy plastic bins to keep things off the ground. This protects against potential water seepage and improves air circulation.
- Use Protective Covers: For furniture, appliances, or anything susceptible to dust and moisture, use breathable covers. Old blankets or tarps can work in a pinch, but purpose-made covers are better.
- Pack Smart: Use sturdy plastic bins with tight-fitting lids instead of cardboard boxes whenever possible. Cardboard absorbs moisture and can attract pests. Label everything clearly so you know what’s what when you need it.
Think about what you’re storing. Metal can rust, wood can warp, and electronics are particularly sensitive to extreme temperature changes. If you have very valuable or sensitive items, you might even consider bringing them inside your home for the coldest months. It’s better to be safe than sorry, right?
Wrapping Up Your Shed Prep
So, we’ve gone over how to get your storage shed ready for whatever the Texas winter throws at it. It might seem like a lot, but taking these steps now means you won’t be dealing with frozen pipes or damaged tools later. Think of it as a little bit of work upfront to save yourself a big headache down the road. We hope these tips help you keep your shed and its contents safe and sound until spring rolls around again. Happy prepping!
Frequently Asked Questions
What’s the first thing we should do to get our shed ready for cold weather?
Our initial step should be to thoroughly check the outside of the shed. We need to look for any cracks or gaps where cold air or water might get in. Sealing these up is super important to keep the inside dry and warm.
How can we stop our stuff from getting damaged by moisture or freezing?
To prevent dampness, we can use moisture absorbers, like those little packets you find in new shoes. For items that could freeze, like paint or liquids, we should bring them inside the house or store them in a part of the shed that stays a bit warmer, maybe closer to the house wall.
Should we worry about animals trying to get into the shed during winter?
Yes, we absolutely should. Critters often look for a cozy place to hide when it gets cold. We must make sure there are no easy ways for them to sneak in, like holes in the walls or gaps under the door. Keeping the area around the shed clear of debris also helps.
Tags: Affordable Sheds, Long Lasting Sheds, Residential Shed Builder