With spring just around the corner, we’re all looking for ways to get our projects moving. If you’ve got one of those prefab buildings sitting in the yard, we’ve been thinking about how we could turn ours into a proper spot for working. It’s a great idea to have a dedicated space, especially for those bigger tasks that just don’t fit inside the house. We’re going to look at how we can get our own backyard workshop sheds ready for action.
Key Takeaways
- We can make our portal buildings into useful backyard workshop sheds by looking at what we have and what needs fixing up.
- Getting our new workshop ready involves making it a good place to work, like adding lights and making sure it’s secure.
- To get ready for spring projects, we need to organize our tools and make the space pleasant to be in.
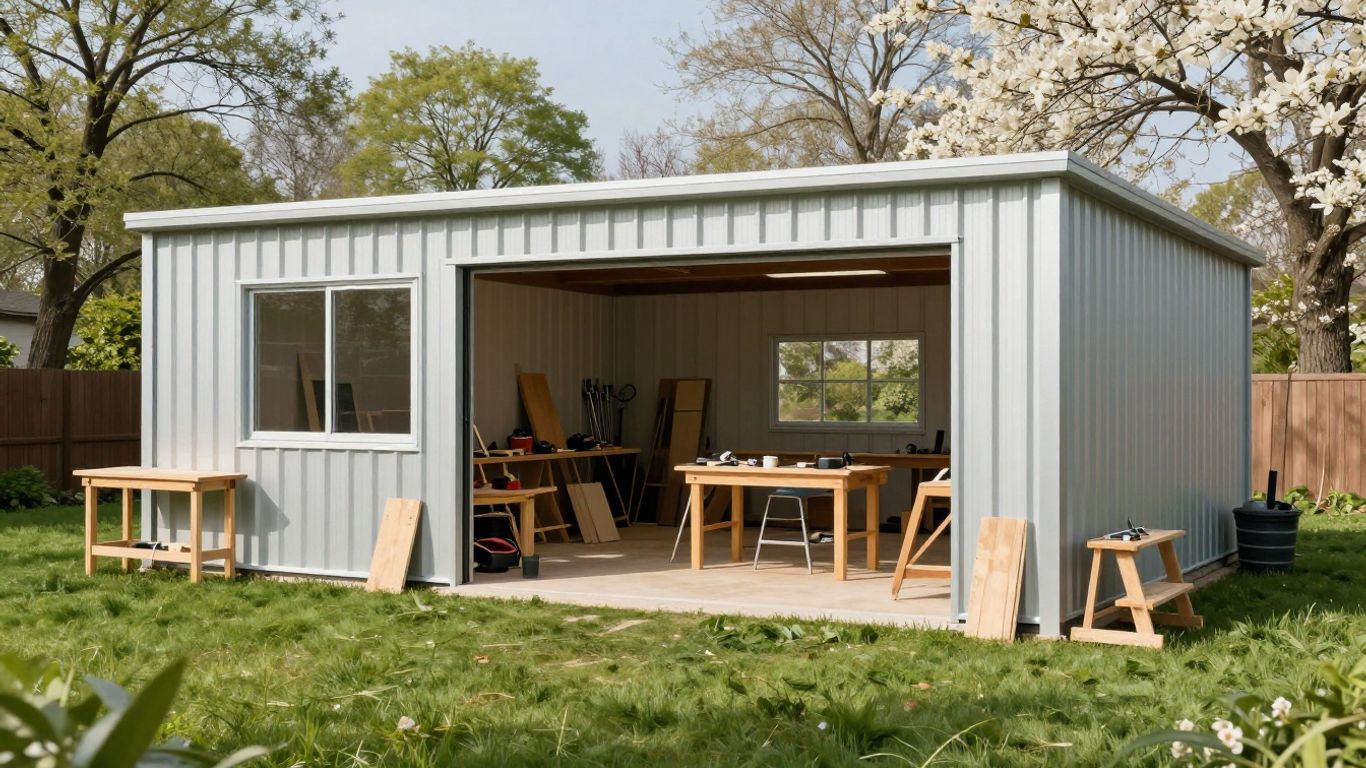
Transforming Your Portal Building Into A Functional Backyard Workshop
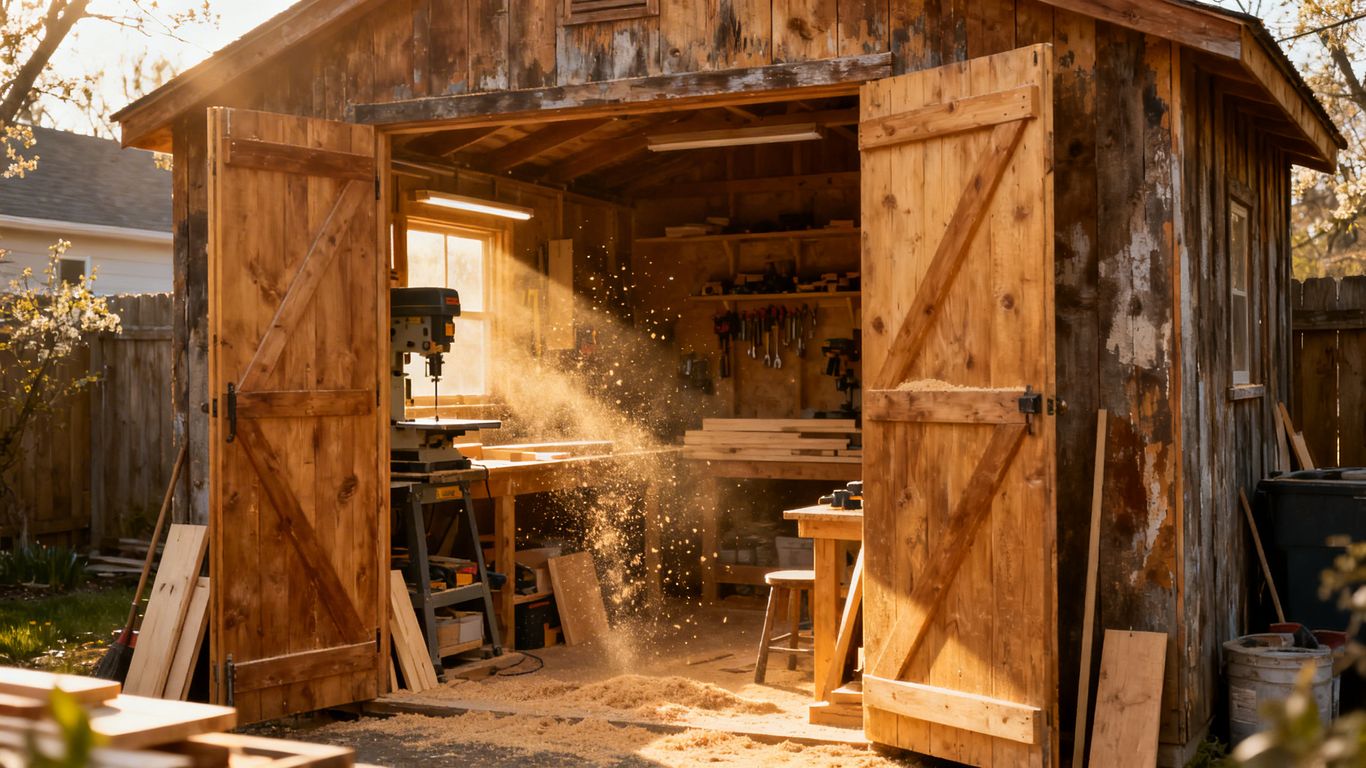
We’ve all got that extra space, right? Maybe it’s a shed, a garage corner, or even one of those pre-fab portal buildings. This spring, we’re thinking about turning ours into a proper workshop. It’s more than just a place to store things; it’s about creating a dedicated spot for our projects. Making this space work for us means a bit of planning and some practical upgrades.
Assessing Your Portal Building’s Potential
Before we start hauling in lumber and tools, we need to look at what we’ve got. Our portal building, for instance, is mostly just a shell right now. We need to figure out its strengths and weaknesses for workshop use. What’s the floor like? Is it level? Does it get too hot in the summer or too cold in the winter? These are the kinds of questions we’re asking ourselves.
- Flooring: Is it concrete, wood, or just dirt? Concrete is great, but if it’s cracked, we might need to patch it. A dirt floor is a no-go for most projects.
- Lighting: Natural light is nice, but we’ll definitely need good artificial lighting. Are there existing fixtures? Can we add more?
- Ventilation: Stale air and dust are not good for us or our projects. We need to think about windows, vents, or even a small fan.
- Size and Layout: How much actual usable space do we have once we account for benches and tool storage? We’re sketching out different layouts to see what fits best.
We’re not aiming for a professional setup here, just a space that’s comfortable and practical for our weekend projects. It needs to be a place where we can actually get things done without tripping over ourselves or breathing in too much dust.
Essential Upgrades For Your New Backyard Workshop Shed
Once we know what we’re working with, it’s time to think about upgrades. These aren’t just about making it look nice; they’re about making it work. We’ve put together a short list of things we think are important:
- Insulation and Climate Control: This is a big one. Nobody wants to work in a freezing shed or a sauna. Adding some basic insulation to the walls and ceiling makes a huge difference. We’re also looking into a small electric heater or a portable air conditioner, depending on our climate.
- Electrical Outlets and Lighting: The single outlet that came with our building isn’t going to cut it. We need more places to plug things in, and better lighting is a must. We’re planning to add a few more outlets and some bright LED shop lights.
- Workbench and Storage: A sturdy workbench is non-negotiable. We’re also looking at shelving units and pegboards to keep tools organized and off the floor. Good storage makes a workspace feel much bigger and more functional.
- Flooring Improvement: If our floor isn’t ideal, we’re considering options like interlocking floor tiles or even just a good coat of epoxy paint on concrete. It makes cleaning easier and looks a lot better.
We’re trying to do this on a budget, so we’re looking for used materials and DIY solutions where we can. The goal is a functional space, not a fancy one.
Setting Up Your Backyard Workshop For Spring Projects
Now that we’ve got our portal building prepped and upgraded, it’s time to make it a real workshop. We want this space to be ready for all those spring projects we’ve been dreaming about. Getting organized and creating a good atmosphere makes a huge difference. Let’s get this done.
Organizing Tools and Materials
This is where we turn chaos into order. A well-organized workshop saves us time and frustration. We don’t want to be hunting for a specific wrench when we’re in the middle of something.
- Pegboards are your friend. We can hang most of our hand tools here. It keeps them visible and easy to grab. Plus, it looks pretty professional.
- Shelving units are a must. For larger items, paint cans, and project bins, sturdy shelves are key. We can use clear bins so we can see what’s inside without pulling them down.
- Drawer units for smaller bits. Think screws, nails, washers, and other hardware. Labeling these drawers is a good idea.
- Consider a dedicated workbench. This is where the actual work happens. Make sure it’s stable and at a comfortable height.
We can also think about how we store materials. Lumber might need a rack, and metal stock could be stored vertically. For things like sandpaper or drill bits, small containers or organizers work well.
A little bit of planning now saves a lot of headaches later. Think about the workflow for your typical projects. What do you reach for most often? Keep those items close at hand.
Creating An Inspiring Workspace
Beyond just function, we want this workshop to be a place we want to spend time in. A little effort here can make a big difference in our motivation.
- Lighting is important. Natural light is great, but we’ll need good overhead lighting for cloudy days or evening work. Task lighting over the workbench is also a good idea.
- Ventilation matters. Especially if we’re doing any sanding, painting, or using glues. Opening doors and windows helps, but a small fan or even a dedicated vent can be a good addition.
- Keep it clean. A clean space is a safe space and a more pleasant space. We should make a habit of tidying up at the end of each work session.
- Personal touches. Maybe a small radio for some background music? Or a bulletin board for project ideas and inspiration? We can even put up some of our finished projects to see how far we’ve come.
The goal is a space that feels productive and enjoyable. We want to be excited to come out here when a new project idea strikes. It doesn’t need to be fancy, just functional and welcoming.
Wrapping Up Our Workshop Project
So, we’ve gone from a forgotten portal building to a functional workshop space, just in time for spring. It wasn’t always easy, and there were definitely moments we questioned our choices, but seeing it all come together feels pretty good. We hope this inspires you to look at those underused spaces around your home and think about what they could become. Whether it’s for woodworking, gardening, or just a quiet place to tinker, a dedicated workshop can make a big difference in getting those projects done. Now, let’s get building!
Frequently Asked Questions
What kind of portal building is best for a workshop?
Any sturdy, empty portal building can work! We’ll look at how to figure out if yours has the right stuff. Things like solid walls, a good roof, and enough space are key. We can help you see what your building has and what it might need.
What are the most important things to add to a new workshop shed?
To make your shed ready for projects, we suggest focusing on a few key upgrades. Good lighting is a must so we can see clearly. We also need to think about making sure it’s safe and comfortable, maybe with better insulation or a small heater. And, of course, we’ll need ways to keep our tools organized and handy.
How can we best organize our tools and materials for spring projects?
Getting organized is super important for a smooth workflow. We can use shelves, pegboards, and toolboxes to keep everything in its place. Thinking about where you’ll do your main work and keeping tools you use often nearby will make a big difference. A tidy space means less time searching and more time creating!
Tags: Affordable Sheds, Long Lasting Sheds, Residential Shed Builder