
As winter approaches, we often think about keeping our homes warm, but what about our storage sheds? If you have an insulated residential storage shed, you might want to make sure it’s ready for the cold. We’ll walk through some simple steps to get your shed prepared so the things inside stay protected from freezing temperatures. It’s not too complicated, and a little effort now can save you trouble later.
Key Takeaways
- Before adding insulation, check your shed for any damage or gaps that could let cold air in. This makes the insulation work better.
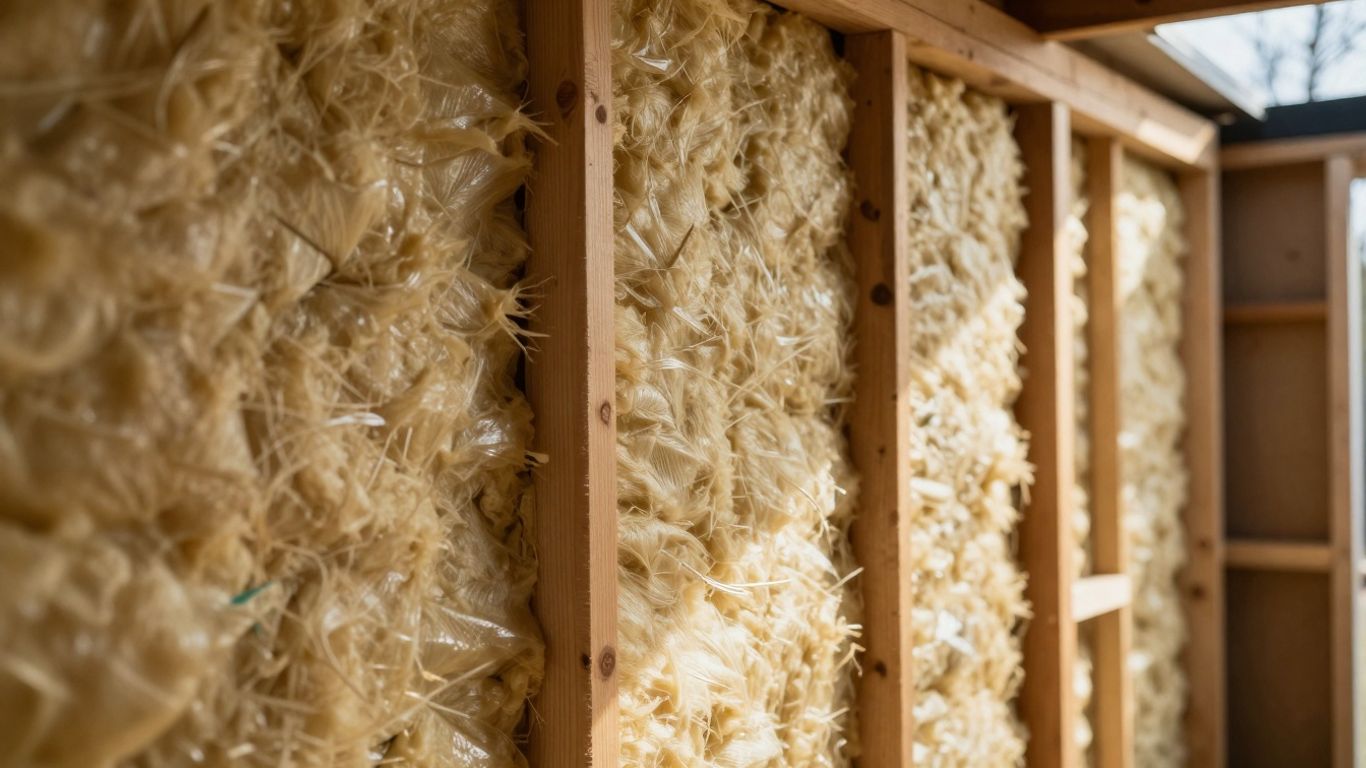
- We need to insulate the walls and ceiling of the shed. Using common materials like fiberglass or foam boards can help keep the heat inside.
- Don’t forget the floor! Adding insulation underneath and sealing up drafts around doors and windows will make a big difference in keeping your insulated residential storage shed warmer.
Preparing Your Insulated Residential Storage Shed for Cold
Assessing Your Shed’s Current Condition
Before we start thinking about adding insulation, we need to take a good look at the shed as it is right now. We want to make sure we’re not just covering up problems. Check the walls, the roof, and the floor for any signs of damage. Are there any loose boards? Any spots where water might be getting in? We should also look for any existing gaps or cracks, especially around windows, doors, and where the walls meet the foundation. These are the places where cold air likes to sneak in.
We’ll need to make a list of any repairs that need doing. It’s better to fix these things now before we put any new material in.
- Check for rot or water damage.
- Inspect the roof for leaks or missing shingles.
- Look for gaps around doors and windows.
- Examine the foundation for cracks.
Gathering Necessary Insulation Materials
Once we know what needs fixing, we can figure out what we need to buy. There are a few common types of insulation we can use for sheds. Each has its pros and cons, and the best choice might depend on your budget and how much work you want to do.
- Fiberglass batts: These are the rolls or pre-cut sections you often see. They’re pretty common and usually affordable. We’ll need to be careful when handling them, though, and wear gloves and a mask.
- Rigid foam boards: These come in stiff panels. They’re good for walls and floors and can offer a decent R-value for their thickness. They’re also pretty easy to cut and fit.
- Spray foam: This is a bit more involved, often requiring special equipment, but it seals up gaps really well and provides good insulation. It’s usually more expensive.
We’ll also need things like vapor barriers, tape, and fasteners depending on the type of insulation we choose. It’s a good idea to measure everything out before heading to the store so we don’t end up with too much or too little.
Making a detailed plan before buying materials will save us time and money in the long run. It’s easy to get carried away at the hardware store, but sticking to our list is important.
Effective Insulation Techniques for Storage Sheds
Now that we’ve prepped our shed and gathered our supplies, it’s time to get down to the actual insulating. This is where we turn that drafty old shed into a cozy spot for your stored items.
Insulating Walls and Ceiling
We’ll start with the walls and ceiling, as these are usually the biggest areas to cover. Think of it like putting a blanket on your shed. We want to fill up all the empty spaces.
- Measure and Cut: First, measure the spaces between your wall studs and ceiling joists. You’ll want to cut your insulation material to fit snugly. It’s better to have it a little too big and compress it slightly than too small and leave gaps.
- Installation: We typically use fiberglass batts or rigid foam boards for this. For batts, just press them into place between the studs. If you’re using foam board, you might need some adhesive or mechanical fasteners to keep it secure.
- Vapor Barrier: Don’t forget a vapor barrier, usually a plastic sheeting, on the warm side of the insulation (the inside of your shed). This stops moisture from getting into the insulation, which can cause problems later.
Addressing Floor Insulation and Drafts
The floor is often overlooked, but it’s a major source of heat loss. Plus, drafts can sneak in from anywhere.
- Floor Insulation: If your shed has a crawl space, we can insulate underneath. Similar to the walls, we’ll fill the joist bays with insulation. Rigid foam is a good choice here because it holds up well to potential moisture from the ground.
- Sealing Gaps: Before we insulate, we need to find and seal any air leaks. Check around windows, doors, vents, and where the walls meet the floor. A good quality caulk or spray foam works wonders for smaller gaps. For larger ones, weatherstripping is your friend.
We found that taking the time to seal up every little crack and crevice made a noticeable difference before we even started adding insulation. It’s like plugging the holes in a leaky bucket before you try to fill it.
Here’s a quick look at common insulation materials we might use:
| Material Type | Pros | Cons |
|---|---|---|
| Fiberglass Batts | Affordable, easy to cut | Can be itchy, loses R-value when wet |
| Rigid Foam Boards | Good R-value per inch, moisture resistant | More expensive, requires cutting tools |
| Spray Foam | Fills irregular spaces, air seals well | Requires special equipment, can be messy |
Getting these areas properly insulated will make a big difference in keeping your shed’s contents protected from the cold.
Wrapping Up
So, we’ve gone through the steps to get your storage shed ready for the cold months. It might seem like a bit of work now, but trust us, you’ll be glad you did when the snow starts falling. Keeping your stored items protected from freezing temperatures and dampness is a good idea. Think about how much easier it will be to grab your gardening tools or winter sports gear without them being frozen solid. It’s a practical step that makes a real difference. Give it a shot, and enjoy a warmer, drier shed all winter long.
Frequently Asked Questions
How much insulation do we really need for our storage shed?
The amount of insulation we’ll need depends on a few things. We should consider how cold it gets where we live and what we plan to store inside. For warmer areas, less might be okay, but if we’re expecting freezing temperatures, we’ll want to use more. Checking the insulation’s R-value, which shows how well it stops heat, is a good idea. Higher R-values mean better warmth.
Can we insulate our shed without taking everything out?
It’s definitely easier if we can empty the shed, but it’s not always possible. We can still work on insulating the walls and ceiling if we move items to the center. For the floor, we might need to lift some items or work in sections. Sealing up any drafts around doors and windows is also important and can be done without moving everything.
What’s the best way to keep the floor warm in our shed?
Keeping the floor warm is key to a cozy shed. We can start by making sure there are no gaps where cold air can sneak in. Adding a layer of rigid foam board insulation underneath the floorboards is a great step. If we have a wooden floor, we can also add carpet or thick mats on top for an extra layer of comfort and warmth during the winter months.
Tags: Affordable Sheds, Long Lasting Sheds, Residential Shed Builder