We’ve all been there. That backyard shed, once perfectly straight, starts to look a little… off. Maybe the door sticks, or things inside slide to one corner. When summer hits, and the ground shifts, these problems can get worse. But don’t worry! We’re here to walk you through how to get your backyard shed back on solid ground, even when it’s hot outside. Getting your backyard shed leveling done right means it’ll last longer and be much more useful.
Key Takeaways
- Always check your shed’s base carefully before you start any work. Look for soft spots or places where it’s sinking.
- Lifting a shed in hot weather needs careful planning. Use the right tools and take breaks to stay safe.
- After you get your shed level, make sure it stays that way. Add extra support and check on it now and then.
Assessing the Backyard Shed’s Foundation for Leveling
Before we even think about jacking up that shed, we need to figure out what’s actually wrong. Is it just a little saggy, or are we talking major foundation failure? This initial assessment is super important because it dictates the whole approach. We don’t want to overdo it, but we definitely don’t want to underdo it either. Let’s get started.
Identifying Unevenness and Structural Weakness
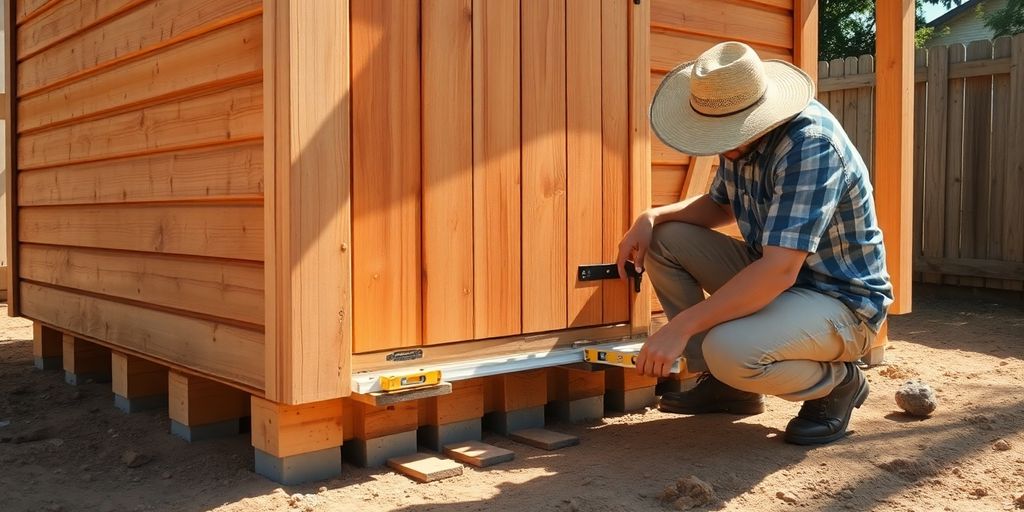
Okay, first things first: let’s walk around the shed and really look at it. Pay close attention to the corners and the base. Are there any obvious gaps between the shed and the ground? Are the doors or windows sticking? These are telltale signs of uneven settling. We also need to check for any signs of rot or damage to the wood itself, especially where the shed meets the ground. Poke around with a screwdriver; if the wood feels soft or crumbly, that’s a problem. Also, look for any cracks in the foundation, if you have one.
Here’s a quick checklist:
- Gaps between shed and ground
- Sticking doors or windows
- Rot or soft spots in the wood
- Cracks in the foundation
Ignoring these early warning signs can lead to bigger, more expensive problems down the road. A little bit of preventative work now can save you a ton of hassle later.
Tools for Accurate Measurement and Assessment
Eyeballing it is not going to cut it. We need some tools to get accurate measurements. A good level is essential, obviously. A long one (at least 4 feet) is best for checking the overall level of the shed’s base. A laser level can be even better, especially if you’re working on your own. You’ll also want a measuring tape to check for consistent heights at different points around the shed. A builder’s square can help you check if the corners are still square. And don’t forget a notebook and pen to record your measurements! Here’s a table of the tools we use:
| Tool | Use |
|---|---|
| Level (4ft+) | Checking overall level of the base |
| Laser Level | More precise leveling, especially alone |
| Measuring Tape | Measuring heights and distances |
| Builder’s Square | Checking if corners are square |
| Notebook & Pen | Recording measurements |
Once we have all our measurements, we can start to get a clear picture of how much the shed has settled and where we need to focus our efforts. This is the boring part, but trust us, it’s worth it!
Strategic Lifting and Shimming for Backyard Shed Leveling
Safe Lifting Techniques in High Temperatures
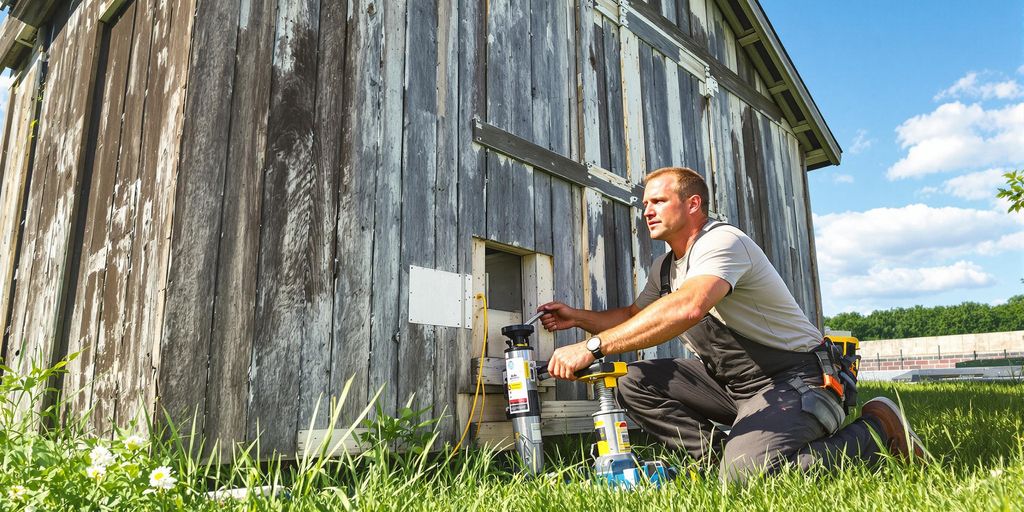
Working on a shed in the summer heat? It’s no joke. We need to be smart about how we lift things to avoid hurting ourselves. First off, let’s talk about timing. Early mornings or late afternoons are your best bet to dodge the worst of the sun’s rays. Hydration is key; we should drink plenty of water before, during, and after the job. Electrolyte drinks can also help if we’re sweating a lot.
When it comes to the actual lifting, never try to lift the entire shed at once. We’re talking about small, controlled lifts using a bottle jack or pry bar. Place the jack on a solid, stable surface, and always use wood blocks to distribute the weight. And for goodness’ sake, wear gloves! Hot metal and splinters are not our friends.
- Use proper lifting techniques: bend at your knees, not your back.
- Take frequent breaks in a shaded area.
- Have a buddy help; teamwork makes the dream work, and it’s safer.
Choosing the Right Shims for Durability
Okay, so we’ve got the shed lifted. Now, what do we stick under it to keep it level? Shims! But not all shims are created equal. We need something that can withstand the elements and the weight of the shed over time.
Wood shims are a classic choice, but they can rot or compress, especially if they’re exposed to moisture. Pressure-treated wood shims are a better option for resisting decay. Plastic shims are another good choice; they’re waterproof and won’t rot, but they can be a bit more expensive. Stone or slate shims are incredibly durable, but they can be harder to work with because they don’t compress like wood or plastic.
The best shims are durable and resistant to the elements. Consider the following factors when choosing shims:
- Material: Wood, plastic, or stone.
- Size: Match the size to the gap we need to fill.
- Durability: How well will they hold up over time?
Remember to use multiple shims per location, overlapping them for better stability. This distributes the weight more evenly and prevents the shed from settling unevenly later on.
Post-Leveling Stabilization and Maintenance for Your Backyard Shed
So, we’ve leveled the shed, and it looks great. But our work isn’t quite done. We need to make sure it stays that way. First, let’s talk about backfilling. Fill any gaps around the base of the shed with gravel or compacted soil. This will help prevent water from pooling around the foundation and causing problems down the road.
Next, we should consider anchoring the shed to the ground. This is especially important if we live in an area with high winds. Ground anchors or tie-down straps can help keep the shed from shifting or even blowing over. Finally, regular inspections are key. Check the level of the shed every few months, and make adjustments as needed. Look for signs of settling, rot, or damage, and address them promptly. Maintenance is key to longevity.
| Task | Frequency | Importance | Notes |
|---|---|---|---|
| Check Level | Quarterly | High | Use a level to check all sides of the shed. |
| Inspect for Rot/Damage | Semi-Annually | High | Look for signs of rot, insect damage, or structural weakness. |
| Backfill Around Base | As Needed | Medium | Fill any gaps with gravel or compacted soil. |
| Check Anchors/Tie-Downs | Annually | Medium | Ensure anchors are secure and straps are in good condition. |
Post-Leveling Stabilization and Maintenance for Your Backyard Shed
Securing the Shed Against Future Settling
Okay, so we’ve got the shed level. Awesome! But, let’s be real, the ground always shifts. We need to make sure our hard work doesn’t go to waste in a few months. One thing we can do is add concrete blocks under the shims. This gives a more solid base than just the ground, especially if you have soil that gets really soft when it rains. Make sure the blocks are level with each other, too. A little extra work now saves a lot of headache later.
Another thing to consider is adding more gravel around the base of the shed. Gravel helps with drainage, so water doesn’t pool up and cause the ground to shift. Plus, it looks a bit nicer than just dirt. We used a few bags from the local hardware store, and it made a big difference.
Here’s a quick checklist:
- Check the level every few weeks for the first month.
- Add concrete blocks under shims for extra support.
- Ensure proper drainage around the shed’s base.
It’s also a good idea to think about how the ground freezes in your area. If you get really hard freezes, the ground can heave, which will definitely mess with your shed’s level. Insulating around the base can help prevent this, but it’s a bigger project.
Ongoing Care for a Level Backyard Shed
Alright, so we’ve stabilized the shed. Now, it’s all about keeping it that way. Regular checks are key. I usually take a quick look every time I’m mowing the lawn. It only takes a minute to see if anything looks off. If you spot a problem early, it’s way easier to fix than if you let it go for months.
Here’s what we do:
- Inspect the shims: Check for rot or damage, especially after wet weather. Replace as needed.
- Monitor the ground: Look for signs of erosion or settling around the base.
- Adjust as needed: Don’t be afraid to add or adjust shims if you see any unevenness. A small adjustment now prevents bigger problems later.
We also keep an eye on the roof. If the shed isn’t level, it can put stress on the roof and cause leaks. So, keeping it level helps with overall maintenance. Plus, a level shed just looks better, right? It’s worth the effort to keep it in good shape. We also made sure to clear any debris, like leaves or branches, from around the shed regularly. This helps prevent moisture buildup and keeps pests away. It’s a small thing, but it makes a difference in the long run.
| Task | Frequency | Notes |
|---|---|---|
| Level Check | Monthly | Use a level to check all sides of the shed. |
| Shim Inspection | Quarterly | Look for signs of rot or damage. |
| Ground Inspection | Seasonally | Check for erosion or settling, especially after heavy rain or snow. |
| Debris Removal | Monthly | Clear leaves, branches, and other debris from around the shed. |
Conclusion
So, there you have it. Getting your shed back on an even keel during the summer heat might seem like a big job, but it’s totally doable. We just need to take our time and be smart about it. Remember, staying hydrated and taking breaks is key. Nobody wants to end up feeling sick just to fix a shed. A little bit of planning and some elbow grease, and your shed will be standing strong for years to come. It’s a good feeling when you finish a project like this, especially knowing you did it yourself, even with the sun beating down.
Frequently Asked Questions
How can we stay safe when working on our shed in really hot weather?
We suggest you pick a time of day when it’s not super hot, like early morning or late evening. Also, make sure to drink plenty of water and take breaks often. Don’t push yourselves too hard in the heat.
What kind of shims should we use so our shed stays level?
We’ve found that using shims made from strong, rot-proof materials like composite or treated lumber works best. These won’t break down over time, keeping your shed level for longer.
How often should we check our shed to make sure it’s still level?
We recommend checking your shed’s levelness once a year, maybe in the spring or fall. If you notice any settling, you can fix it before it becomes a big problem.
Tags: Affordable Sheds, Long Lasting Sheds, Residential Shed Builder