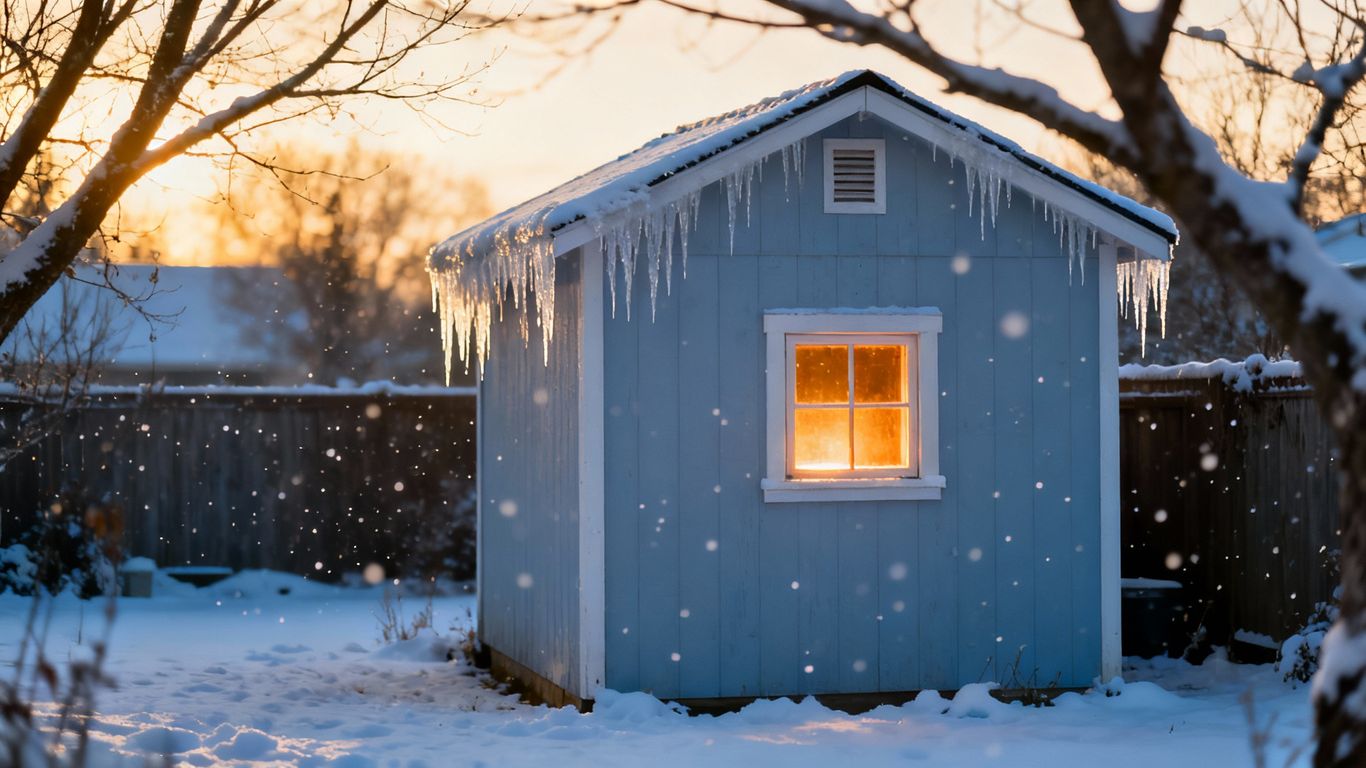
As winter approaches, we often forget about our backyard sheds. They can become cold, dark places, making them less useful. We want to share some simple backyard shed upgrades that can make a big difference. These aren’t complicated projects, just small changes that will make your shed more comfortable and functional when the weather turns cold.
Key Takeaways
- We can stop drafts by sealing up any gaps or holes in the shed. This is a quick way to keep the cold out.
- Adding some simple insulation to the walls and ceiling will help keep the shed warmer.
- We should think about better lighting and maybe a small heater to make the space more usable in winter.
Enhance Insulation For Your Backyard Shed
When winter rolls around, our backyard sheds often become forgotten spaces, left to the mercy of the cold. But we can change that! Making sure your shed is properly insulated is a game-changer, keeping it warmer and more usable throughout the colder months. A well-insulated shed protects your stored items and makes it a more comfortable place to work or relax.
Seal Drafts and Air Leaks
Before we even think about adding new materials, we need to find where the cold air is getting in. Little gaps and cracks might seem insignificant, but they let a surprising amount of heat escape. We’ve found that a simple walk-around with a bit of attention can reveal a lot.
- Check Door and Window Seals: These are common culprits. Look for any daylight peeking through when the door or window is closed. If you see any, it’s a sign that the weatherstripping might be worn out or missing.
- Inspect the Foundation: Where the shed meets the ground, there can be gaps. These are often overlooked but can let in a lot of cold air and even moisture.
- Look at Joints and Corners: The places where walls meet, or where walls meet the roof, are also prime spots for leaks. Pay attention to any visible cracks or openings.
We like to use a caulk gun for smaller cracks and gaps. For larger openings, expanding foam can be a good option, but be careful not to use too much. Replacing old, cracked weatherstripping around doors and windows is also a straightforward fix that makes a big difference.
Add Insulation to Walls and Ceiling
Once we’ve sealed up the leaks, it’s time to add some proper insulation. This is where we really lock in the warmth. There are a few types of insulation we can consider, each with its own pros and cons.
- Fiberglass Batts: These are the most common type, like the pink stuff you see in houses. They’re relatively inexpensive and easy to install between wall studs and ceiling joists. Just remember to wear gloves and a mask when handling them.
- Rigid Foam Boards: These come in stiff panels and are great for adding a layer of insulation to the inside of walls or even the floor. They offer a good R-value (that’s a measure of how well it resists heat flow) for their thickness.
- Spray Foam: This is a bit more involved, often requiring professional installation, but it creates an excellent air seal and provides good insulation. It expands to fill every nook and cranny.
When deciding on insulation, think about the R-value. Higher R-values mean better insulation. We aim for at least an R-13 in the walls and R-19 in the ceiling for a decent level of warmth in our sheds.
We usually start with the walls, fitting the insulation snugly between the studs. Then, we move on to the ceiling, making sure there are no gaps. Covering the insulation with a vapor barrier, like plastic sheeting, can help prevent moisture problems down the line. Finally, we put up new interior walls, like thin plywood or drywall, to cover and protect the insulation.
Improve Lighting and Heating For Your Backyard Shed
Now that we’ve talked about keeping the cold out, let’s think about making the inside of our shed more comfortable and useful during the winter months. We want to make sure we can actually see what we’re doing in there and stay warm enough to work or just hang out.
Install Energy-Efficient Lighting
Old, dim lights in a shed can make it feel gloomy and uninviting, especially when the days are short. Upgrading to more modern, energy-efficient lighting makes a big difference. We’re not just talking about brighter light; we’re talking about using less power, which is good for our wallets and the environment. LED bulbs are the way to go here. They last a long time and use a fraction of the electricity compared to old incandescent bulbs.
Here are a few things to consider when choosing new lights:
- Type of Bulb: LEDs are best. They come in different color temperatures, so you can pick a warm, cozy light or a brighter, cooler light depending on what you use the shed for.
- Fixture Type: Think about where you need light most. Maybe a ceiling fixture for general light, or some task lighting over a workbench.
- Power Source: If you don’t have power to your shed, consider battery-operated LED lights or even a small solar panel setup.
Making the switch to LEDs is a simple upgrade that pays off quickly.
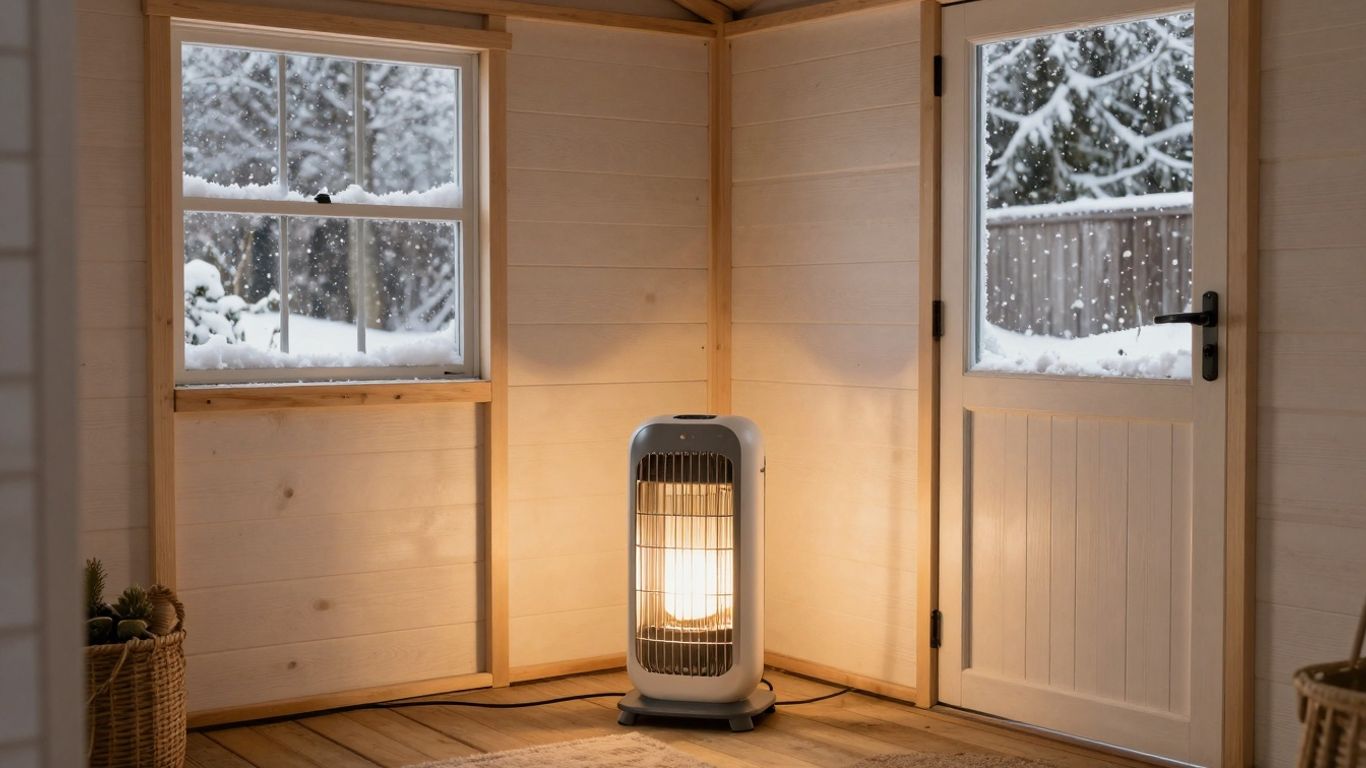
Consider a Small Space Heater
If your shed gets really cold, you might want to think about adding a small heater. This is especially important if you plan to spend any significant time in the shed during winter, perhaps for hobbies or extra storage that needs protection from freezing.
When picking a heater, safety is the number one thing to keep in mind. We don’t want any accidents.
- Ceramic Heaters: These are popular because they heat up quickly and many have safety features like tip-over protection. They’re good for small to medium spaces.
- Oil-Filled Radiators: These take longer to heat up but provide a more consistent, gentle heat. They’re usually very safe and quiet.
- Infrared Heaters: These heat objects directly, not just the air, which can feel quite comfortable. They are also energy efficient.
Always make sure any heater you choose is rated for the size of your shed. Overloading a small space can be inefficient and potentially unsafe. Also, double-check that the shed’s electrical wiring can handle the heater’s power draw, especially if you’re using an older setup. It’s better to be safe than sorry when it comes to heating.
We found that a small, thermostatically controlled ceramic heater works well for our needs. We can set it to keep the chill off without running up a huge electricity bill. It makes a world of difference when we go out there on a cold Saturday morning.
Wrapping Up
So, there you have it. We’ve looked at a few ways we can get our sheds ready for the colder months. It doesn’t take much, really. A bit of insulation here, maybe some better sealing there, and suddenly that space feels a lot more usable when the temperature drops. We hope these simple steps give you some ideas for your own shed. It’s amazing what a difference a few small changes can make, turning that storage spot into a more comfortable place for whatever projects you have planned. Give it a try, and enjoy your upgraded shed this winter.
Frequently Asked Questions
Why should we bother making our shed warmer in winter?
Keeping your shed cozy helps protect anything stored inside from freezing. Think about paints, tools, or even plants – cold temperatures can damage them. Plus, if you plan to use your shed as a workspace, a warmer environment will be much more comfortable for us.
What’s the easiest way to stop cold air from getting in?
We can easily check for gaps around windows, doors, and where the walls meet the floor or roof. Using simple caulk or weatherstripping to fill these little openings is a quick fix that makes a big difference in keeping the warmth inside and the chilly air out.
Is adding insulation difficult for a shed?
Not at all! We can add insulation panels or rolls to the walls and ceiling. It’s like giving your shed a warm blanket. This step is super effective at holding in heat, meaning we won’t need to use as much energy to keep it warm.
Tags: Affordable Sheds, Long Lasting Sheds, Residential Shed Builder